
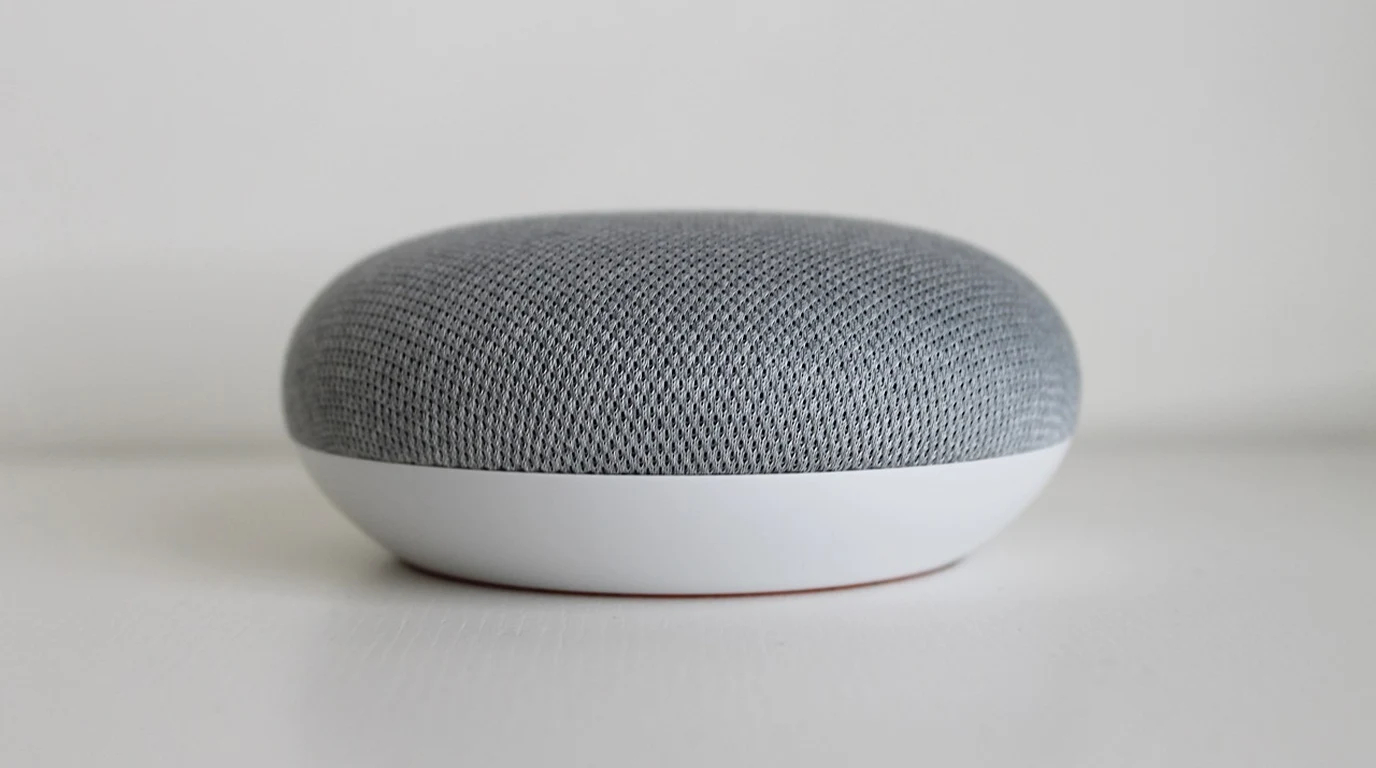
If you are a privacy-conscious smart home enthusiast, residential automation integrator, or zero-trust homelab architect, you are acutely aware of the invasive privacy trade-offs of commercial voice assistants. For over a decade, Amazon Alexa, Google Assistant, and Apple Siri dominated consumer smart homes by offering convenient voice control over lighting, climate, and media. However, that convenience came handcuffed to an intolerable corporate compromise: continuous cloud audio streaming, closed-ecosystem vendor lock-in, latency bottlenecks, and the looming risk that a corporate service deprecation or internet outage renders your home completely unresponsive.
The solution is 100% Local Voice AI powered by Home Assistant Assist. Thanks to the breakthroughs of the open-source Year of the Voice initiative, smart home builders can now deploy completely private, cloud-independent voice processing that operates entirely within the local home network. Utilizing open-standards protocols—specifically openWakeWord for wake word detection, Faster-Whisper for Speech-to-Text (STT), and Piper for Text-to-Speech (TTS)—local voice AI delivers sub-second command response times with absolute zero audio data escaping your local firewall. However, building a responsive multi-room voice network requires precise hardware architecture. You must size your centralized inference compute server and select the correct room voice satellites to eliminate audio distortion and latency.
What Hardware Is Required to Run 100% Local Voice AI in Home Assistant?
To evaluate the hardware requirements of local voice processing, one must break down the three distinct computational stages that occur the moment you utter a voice command in your living room:
- Stage 1: Wake Word Detection (openWakeWord): The room satellite continuously monitors ambient audio for a specific wake phrase (e.g., “Hey Jarvis” or “Okay Nabu”). This audio stream never leaves the room until the wake word neural network confirms a match with high mathematical confidence.
- Stage 2: Speech-to-Text / STT (Faster-Whisper): Once awakened, the satellite streams raw PCM audio over the local network via the Wyoming protocol to a centralized server. The server runs OpenAI’s Whisper model (optimized via CTranslate2 as Faster-Whisper) to translate the spoken acoustic waveform into a text string in under 300 milliseconds.
- Stage 3: Intent Parsing & Synthesis (Assist & Piper): Home Assistant’s internal conversation agent parses the text command (e.g., “Turn off the chandelier”) and executes the automation. Home Assistant then passes the confirmation message to Piper, an ultra-fast local neural TTS engine, which synthesizes natural human speech and streams it back to the room satellite speaker in under 150 milliseconds.
Local Voice AI Hardware Architecture & Performance Matrix
| Hardware Tier | Host Compute Platform | Whisper Model Sizing | STT Processing Latency | Multi-Room Satellite Capacity |
|---|---|---|---|---|
| SBC Minimal Tier | Raspberry Pi 4 / Pi 5 (ARM64) | Whisper-tiny.en (Quantized) | 1,200ms – 2,500ms (Noticeable lag) | 1 to 2 Rooms concurrent |
| Prosumer Mini-PC Tier | Intel N100 / N305 (x86 Quad-Core) | Whisper-base.en (INT8) | 350ms – 550ms (Near instantaneous) | 4 to 6 Rooms concurrent |
| Enterprise Server Tier | Intel Core i5/i7 (12th+ Gen) | Whisper-small.en (High accuracy) | 180ms – 300ms (Sub-second total) | 10+ Rooms concurrent |
| GPU Accelerated Tier | NVIDIA RTX 3060 / A2000 (CUDA) | Whisper-medium.en / large-v3 | < 90ms (Real-time conversational) | Estate-wide unlimited concurrency |
Room Voice Satellites: ESP32-S3 vs Raspberry Pi Wyoming Satellites
The user experience of local voice AI is defined by the physical hardware sitting in each room. The microphone must clearly capture human speech across ambient music, kitchen exhaust fans, and reverberant room surfaces. Integrators deploy two primary hardware architectures for room satellites:
1. ESP32-S3 Microcontroller Satellites (Low Cost, Ultra-Compact)
The most popular hardware satellite is built around the Espressif ESP32-S3 microcontroller, exemplified by the ESP32-S3-BOX-3 or M5Stack CoreS3. These tiny devices ($35–$50) integrate dual high-performance microphones, hardware Acoustic Echo Cancellation (AEC), and an onboard audio amplifier. Using ESPHome firmware, the ESP32-S3 runs openWakeWord directly on its dual-core Xtensa LX7 processor. It consumes less than 1.5 Watts of power and boots in 2 seconds. When mounted in custom 3D-printed wall plates or discreet desktop stands, it delivers pristine voice capture for standard domestic rooms.
2. Micro-PC Wyoming Satellites (High Performance, Custom Mics)
For large, high-reverberation spaces (such as open-concept living rooms, commercial boardrooms, or high-ceiling kitchens), ESP32 microphones can struggle with far-field pickup. Professional integrators solve this by deploying Raspberry Pi Zero 2W or Pi 4 satellites running the Wyoming-Satellite client, paired with professional microphone arrays—such as the ReSpeaker Mic Array v2.0 or Jabra Speak 410/510. These multi-microphone hardware arrays feature hardware DSP beamforming, noise suppression algorithms, and full-duplex acoustic echo cancellation, capturing whispered voice commands from 25 feet away across a crowded room.
Do not attempt to run multi-room local voice AI on a single Raspberry Pi. Running Whisper, Piper, and Home Assistant on an ARM SBC causes 2-second command latencies that will frustrate household members. Deploy a dedicated $150 Intel N100 mini-PC or unraid/Proxmox VM as your centralized Wyoming Whisper/Piper inference hub. Pair it with ESP32-S3-BOX-3 satellites in private rooms and ReSpeaker USB arrays in open living areas. You will achieve private, zero-cloud voice control that executes faster than Amazon Alexa with 100% data sovereignty.
The 4:00 PM Actionable Local Voice Deployment Protocol
Follow this four-step roadmap to build your local Home Assistant voice infrastructure:
- Deploy an x86 Centralized Inference Server: Set up Docker containers for Faster-Whisper and Piper on your local server or mini-PC. Use the
whisper-base.enmodel for an optimal balance between recognition accuracy and sub-350ms transcription speed. - Configure the Wyoming Integration in Home Assistant: Navigate to
Settings -> Devices & Services -> Add Integration -> Wyoming Protocol. Enter your server’s local IP address and port 10300 (Whisper) and port 10200 (Piper). - Flash ESP32-S3 Satellites with ESPHome: Connect your ESP32-S3-BOX-3 to your computer and install the official Home Assistant Voice firmware via web browser at
firmware.home-assistant.io. Assign each satellite to its specific Home Assistant room area for location-aware voice commands. - Tune Acoustic Echo Cancellation (AEC): In your satellite configuration, enable hardware AEC to ensure the satellite can hear your voice command even while the internal speaker is actively playing music or TTS responses.
Local Voice AI Hardware & Smart Home Architecture
Evaluating mini PC hardware for local neural voice models directly impacts response times. Explore our architectural guide on Home Assistant NUC vs Green: Local Voice Latency →
Local Voice AI: Home Assistant Assist Hardware Guide
Low-latency RF protocols provide the instantaneous sensor feedback required for voice automation. Learn more in our guide on Zigbee 3.0 vs Z-Wave Long Range: Mesh Interference →