
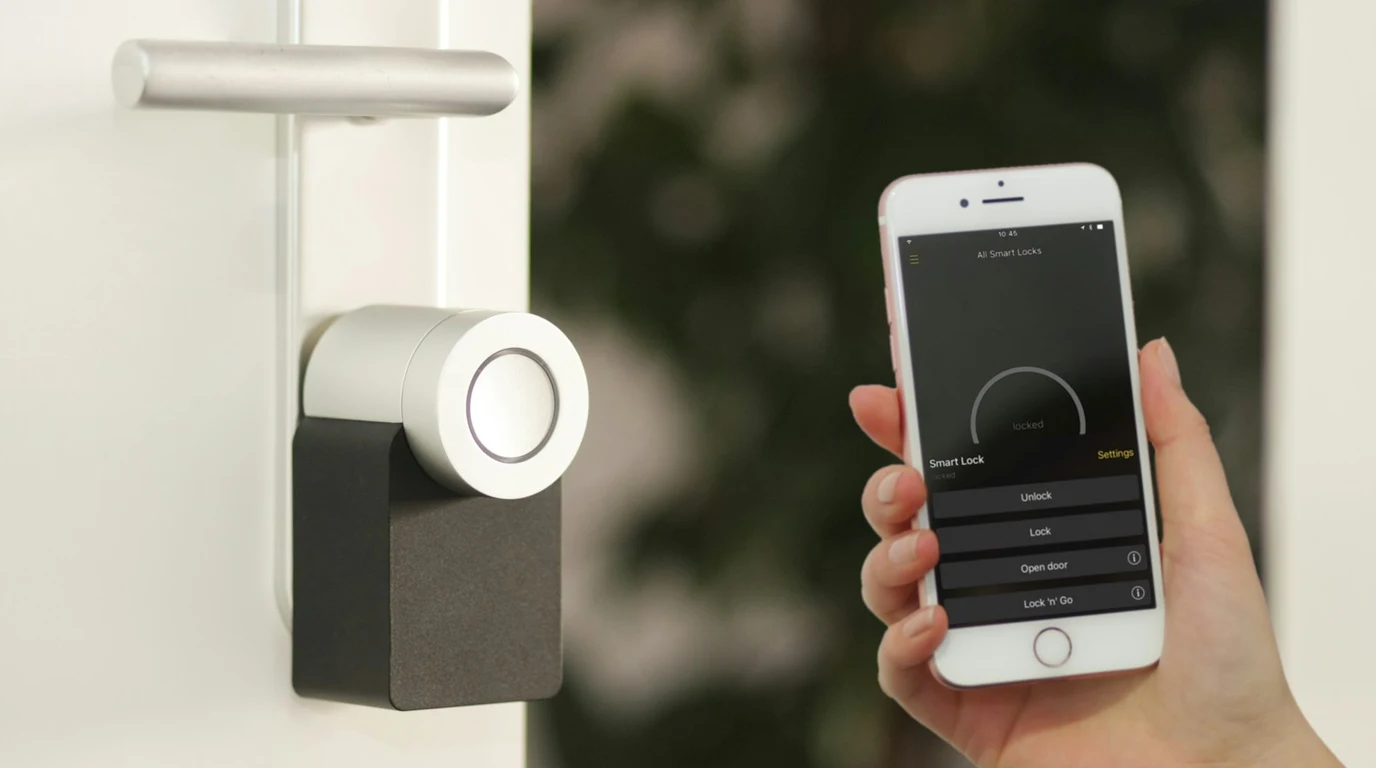
If you are an automation engineer or smart home enthusiast committed to upgrading existing designer light switches, ceiling fans, or motorized roller shades without replacing physical wall plates with tacky plastic smart switches, in-wall smart micro-relays are the ultimate architectural solution. By tucking a compact Wi-Fi or Zigbee relay directly inside the electrical junction box behind your existing decorative switches, you retain physical wall control while gaining local automation and real-time energy metering.
Inside the DIY and professional integration communities, two micro-relays dominate the conversation: the European-engineered Shelly Plus 1PM and ITead’s dual-channel powerhouse, the Sonoff DualR3. Both devices run on high-performance ESP32 silicon, both support local decoupling of physical switch inputs from relay outputs, and both integrate seamlessly with Home Assistant. However, when you open up a crowded North American steel gang box packed with 14/2 Romex conductors, wire nuts, and a deep decorator switch, physical dimensions, heat dissipation, and electrical safety certifications dictate whether your installation is a triumph or a dangerous fire hazard.
What Is the Direct Engineering Verdict: Shelly Plus 1PM vs Sonoff DualR3?
Shelly Plus 1PM is the superior, safer choice for single-gang lighting boxes and individual high-draw appliance monitoring (up to 16A resistive). It features recognized UL/ETL electrical safety certifications, an ultra-compact form factor (42x37x16mm) that fits crowded junction boxes, and out-of-the-box local MQTT/REST APIs that never require cloud activation. Sonoff DualR3 is the preferred solution specifically for dual-switch boxes or bi-directional motorized window shades, offering two independent relay channels (10A per channel / 15A total) with hardware-calibrated roller shutter motor control, provided your electrical box has ample cubic-inch volume.
To understand which micro-relay fits your architectural requirements, we must examine the physical realities of residential junction boxes and electrical code constraints.
Physical Gang Box Clearance & Thermal Dissipation
The single greatest operational challenge when retrofitting smart relays is box fill volume under the National Electrical Code (NEC Article 314.16). Standard residential single-gang shallow plastic or steel boxes provide between 14 and 18 cubic inches of interior space. When you subtract the physical volume of a standard toggle switch, four 14 AWG copper conductors, grounding wires, and twist-on wire connectors, there is rarely more than 20mm of depth remaining:
- Shelly Plus 1PM Form Factor: Measuring an astonishingly compact 42 x 37 x 16 mm, the Shelly Plus 1PM slips effortlessly into the rear cavity behind standard Leviton or Lutron switches. Furthermore, Shelly’s terminal block uses recessed screw clamps that prevent exposed live conductors from shorting against the grounded metal chassis of adjacent switches.
- Sonoff DualR3 Form Factor: Measuring 54 x 45 x 24 mm, the Sonoff DualR3 is significantly wider, taller, and 50% thicker than the Shelly. In a standard shallow 18-cubic-inch box, fitting the DualR3 alongside heavy Romex conductors requires severe wire compression, which stresses terminal screws and risks conductor fractures. DualR3 requires deep 22+ cubic-inch boxes or dedicated multi-gang enclosures to install safely.
- Thermal Dissipation under High Loads: Both devices generate internal heat during active switching, primarily from their internal AC-to-DC step-down power supplies and copper traces. Shelly Plus 1PM includes an internal temperature sensor with automatic over-temperature shutdown configured in firmware at 95°C. Sonoff DualR3 spreads thermal dissipation across two relays; under heavy dual-channel loads (e.g., controlling two bathroom heaters), interior temperatures can climb rapidly, making proper box airflow mandatory.
| Hardware & Electrical Dimension | Shelly Plus 1PM | Sonoff DualR3 (v2) | Integration Significance |
|---|---|---|---|
| Relay Channels & Switching | 1 Channel (Single Pole Single Throw) | 2 Independent Channels (Dual Output) | DualR3 controls two light circuits in one box |
| Maximum Current Rating | 16A Resistive (110–240V AC) | 10A per channel / 15A Total combined | Shelly safely handles 15A kitchen outlets |
| Motor / Roller Shutter Mode | No (Requires Shelly Plus 2PM for motors) | Yes (Built-in motor interlock & calibration) | DualR3 is a turnkey motorized blind controller |
| Electrical Safety Certifications | UL Listed (USA/Canada) + CE Mark | TUV Rheinland Certified + CE (No native UL) | Shelly satisfies North American home insurance |
| Local Control Protocols (Zero Cloud) | Native MQTT, CoIOT, WebSocket, HTTP REST | eWeLink LAN Mode, Sonoff LAN (HACS), DIY Mode | Shelly integrates natively without HACS add-ons |
| Power Monitoring Precision | High accuracy (Voltage, Current, Watts, Wh) | Good accuracy (Independent channel metering) | Both feed Home Assistant Energy Dashboard |
Power Monitoring Accuracy & Local Integration Mechanics
Both relays incorporate high-precision metering chips that sample active AC voltage and current waveforms to calculate true active power ($ ext{Watts} = V imes I imes \cos heta$), effectively filtering out reactive power from inductive motor loads. This data feeds directly into the Home Assistant Energy Dashboard, allowing homeowners to track circuit-level kilowatt-hour consumption.
Where Shelly outclasses Sonoff is in its native local communication architecture. Shelly devices ship with a complete embedded web server. Right out of the box, you can open the device’s IP address in a web browser, enable local MQTT, configure WebSocket streams to Home Assistant, and disable cloud connectivity with a single checkbox. The integration requires zero third-party cloud bridges, zero API tokens, and zero external Internet dependencies.
The Sonoff DualR3, while capable of local control via “eWeLink LAN Mode,” historically relies on the Sonoff eWeLink smartphone application for initial Wi-Fi pairing and device provisioning. To achieve true 100% cloud-free local control with Sonoff, advanced integrators typically flash the onboard ESP32 chip with custom ESPHome or Tasmota firmware via serial pins. While flashing unlocks total sovereignty, it voids the warranty and requires delicate soldering or pogo-pin programming jigs.
The Costly Traps: Neutral Wires, Inrush Currents & Switch Decoupling
Installing in-wall micro-relays requires avoiding four critical electrical and architectural pitfalls:
- Trap 1: The Missing Neutral Wire: Both Shelly Plus 1PM and Sonoff DualR3 require a neutral wire (White wire in North America) inside the switch box to power their internal ESP32 microcontrollers and radio receivers. In older homes built before the 2011 NEC revision, switch boxes frequently feature only a “switch loop” containing hot and switched-load conductors without a neutral. If your box lacks a neutral, neither relay will power on; you must use a neutral-free relay such as the Shelly 1L.
- Trap 2: High Inrush LED Welds: Modern LED fixtures draw tiny continuous wattage (e.g., 20 Watts), but their internal capacitive power supplies draw massive transient inrush current spikes (often 50A to 80A for 2 milliseconds) the instant the relay contacts close. Over time, these microscopic electrical arcs can weld the mechanical relay contacts shut, leaving your lights permanently stuck ON. To protect micro-relays on large LED circuits, install an inexpensive inrush current limiter (RC snubber) across the switched load.
- Trap 3: Tripping AFCI / GFCI Circuit Breakers: Modern residential codes require Arc Fault Circuit Interrupter (AFCI) breakers on all lighting and bedroom circuits. When cramming thick wires and micro-relays into a steel box, nicking conductor insulation or improper pigtail splicing can cause microscopic parallel arcs that nuisance-trip AFCI breakers at the main electrical panel. Always wrap the perimeter of your micro-relay with UL-listed electrical tape before sliding it into metal enclosures.
- Trap 4: Forgetting “Detached Switch” Mode: If you install smart bulbs (e.g., Philips Hue or Nanoleaf) on the same circuit controlled by your micro-relay, toggling the physical wall switch will cut power to the smart bulbs, knocking them offline. Enable Detached Mode (or “Separated Input”) in the relay settings: this decouples the physical switch terminal from the relay contacts. When someone flips the wall switch, the relay sends an instantaneous software event to Home Assistant to dim or toggle the smart bulbs, while maintaining 100% continuous electrical power to the fixtures.
The 4:00 PM Actionable Playbook: In-Wall Micro-Relay Installation
To safely install and configure an in-wall smart relay behind a residential switch today, follow this step-by-step master electrician workflow:
- Step 1: Shut Off Circuit Breaker & Verify Zero Voltage: Turn off the circuit breaker at the main electrical panel. Remove the decorative wall plate and switch screws. Use a certified non-contact voltage tester (NCVT) followed by a calibrated digital multimeter to verify absolute zero voltage across all hot, neutral, and ground conductors.
- Step 2: Inspect Box Depth & Volume: Measure interior depth. If the box is shallow (less than 2 inches deep), select the Shelly Plus 1PM. If installing a Sonoff DualR3, ensure the enclosure is at least 2.5 inches deep. Pigtail all connections using compact lever-style wire connectors (WAGO 221 series) rather than bulky twist-on wire nuts to save precious box cubic volume.
- Step 3: Wire the Relay Terminals: Connect the constant Line Hot (Black) to the
Lterminal; connect the Neutral bundle (White) to theNterminal; connect the switched fixture conductor to theO(Output) terminal; and run a short jumper wire from your existing physical wall switch to theSW(Switch Input) terminal. - Step 4: Insulate and Seat: Wrap a double layer of 3M Super 33+ electrical tape around the relay terminal blocks to prevent accidental shorts against the switch frame or steel box walls. Gently fold conductors accordion-style into the rear of the box, sliding the relay flat against the rear wall, and re-mount the mechanical switch.
- Step 5: Provision Local Control in Home Assistant: Restore breaker power. Connect to the relay’s temporary Wi-Fi access point, enter your home IoT Wi-Fi credentials, assign a static DHCP reservation in your router, and enable native Home Assistant discovery. Verify instant sub-50ms local switching and energy metering.
📐 Companion Strategic Investigation: Inovelli Smart Switches & Wireless Meshing
Deciding between in-wall micro-relays and full smart wall switches with built-in scene controllers? Review our architectural showdown comparing Inovelli Blue and Red Series:
👉 Read the Full Analysis: Inovelli Blue vs. Red Series: Zigbee vs Z-Wave 800 Guide »
People Also Ask
Do in-wall smart relays require a neutral wire?
Yes. Both the Shelly Plus 1PM and Sonoff DualR3 require a continuous neutral wire connection to power their internal microprocessors and Wi-Fi radios. For homes without neutral wires in the switch box, options like the Shelly 1L must be used.
Can the Sonoff DualR3 control motorized window blinds?
Yes. The Sonoff DualR3 features a dedicated “Motor Mode” in firmware with hardware interlocks that prevent both directional relays from activating simultaneously, protecting bidirectional AC shade motors from burning out.
Are Shelly smart relays safe to install inside walls?
Yes. Shelly Plus devices hold recognized UL and ETL safety certifications for North America, featuring flame-retardant V-0 plastic housings and integrated software-controlled internal temperature sensors that automatically shut down the relay if internal temperatures exceed 95°C.