
You have built the ultimate Home Assistant dashboard, automated your lighting down to the millimeter, and locked down your home network. Then, you uttered a simple command to a commercial smart speaker sitting on your kitchen counter, watched the activity light blink, and realized your voice data just took a round trip to a server farm three states away just to turn on a laundry room light. It feels wrong because it is wrong. We build local automation systems to protect our privacy and guarantee uptime, yet we rely on cloud-dependent microphones that fail the moment our internet drops.
You want a voice control pipeline that stays entirely inside your four walls—lightning fast, completely private, and immune to WAN outages. But when you look at building local voice satellites, the path is littered with confusing open-source protocols, mismatched audio codecs, and microcontrollers that either run out of RAM or drop off Wi-Fi when you need them most.
Deploying an ESP32-S3 voice satellite running microWakeWord alongside Home Assistant’s Wyoming protocol delivers a sub-second, 100% local voice assistant. By pairing an ESP32-S3 board with an I2S microphone and speaker, you achieve private wake-word detection, local Whisper speech-to-text, and Piper text-to-speech without any cloud dependencies.
## Why Do Most DIY Voice Satellites Fail Due to Audio Latency and Wi-Fi Drops?
The single biggest misconception in local home automation is that any microcontroller with a microphone can act as a reliable voice satellite. Practitioners buy cheap ESP32 development boards, slap basic microphone modules on them, and wonder why their wake word is constantly missed, audio stream packets drop out mid-sentence, or the device reboots under memory pressure.
Voice audio streaming is resource-intensive. Raw pulse-code modulation (PCM) audio streaming requires consistent bandwidth and minimal jitter. Standard ESP32 chips lack the vector instructions and RAM capacity needed to run modern on-device wake-word engines while handling concurrent Wi-Fi audio socket streaming. Furthermore, ambient room noise, acoustic feedback from attached speakers, and poor microphone placement create an acoustic nightmare that turns clean commands into unintelligible static.
To build a professional-grade satellite, you need the right hardware architecture and a clear understanding of the bottlenecks. Let’s look at how the primary hardware options stack up in real-world residential deployments.
| Hardware Platform | Processor & RAM | Audio Interface | Best Deployment Scenario | Primary Limitations |
|---|---|---|---|---|
| M5Stack Atom Echo | ESP32-PICO-D4 (520KB SRAM) | Internal I2S Mic / Speaker | Budget single-room nodes, tight spaces | Cannot run local wake-word; streams raw audio |
| ESP32-S3-BOX-3 | ESP32-S3 (16MB Flash, 8MB PSRAM) | Dual Mic Array, Codec, Speaker | Living rooms, primary command hubs | Higher cost, proprietary desk enclosure |
| Custom ESP32-S3 + INMP441 | ESP32-S3 DevKitC (8MB PSRAM) | I2S INMP441 Mic + MAX98357A Amp | Custom wall plates, hidden installations | Requires soldering and custom 3D enclosures |
| Raspberry Pi Zero 2 W | Quad ARM Cortex-A53 (512MB RAM) | USB / I2S Soundcards | Heavy processing, local satellite runner | Higher power draw, longer boot times |
## How Does the Wyoming Protocol Power Sub-Second Local Voice Processing?
To understand why this architecture sings, you have to look under the hood of the Wyoming protocol. Developed specifically for Home Assistant, Wyoming acts as a lightweight, standardized TCP socket protocol that decouples audio capture from processing.
When you use a standard ESP32-S3 running ESPHome with microWakeWord, the device spends 99% of its time in a low-power listening loop. It samples audio from the I2S microphone, buffers it into small chunks, and passes it through an on-chip neural network trained on a specific wake word like “Hey Jarvis” or “Alexa.” Because the ESP32-S3 features vector instructions (ESP-DSP), it can execute this inference locally in real time without bogging down the main CPU core.
The moment the wake word triggers, the satellite opens a TCP connection via the Wyoming protocol to your Home Assistant server (or a dedicated add-on host). It streams clean 16kHz, 16-bit PCM mono audio packets straight to your server.
On the server side, the Wyoming-Whisper add-on translates those audio packets into text using local Whisper transformer models. Home Assistant’s Intent Engine interprets the text, determines that you want to adjust a living room thermostat, and triggers the automation. If the automation generates a spoken response, Home Assistant sends the text string to Wyoming-Piper, which synthesizes a natural-sounding voice waveform, compresses it, and streams it back over Wyoming to the ESP32-S3’s I2S amplifier and speaker. The entire round trip happens in under a second, entirely offline.
## What Are the Hidden Pitfalls of Microphone Gain and Acoustic Echo Cancellation?
Even with perfect hardware, deployment failure often happens due to acoustic physics. If your speaker is mounted two inches away from your microphone inside a plastic 3D-printed enclosure, the audio output from Piper will bleed directly back into the microphone input when the satellite speaks. This creates an infinite acoustic feedback loop or causes the system to trigger its own wake word.
Furthermore, improper microphone gain will ruin your word recognition rates. If your gain is too low, Whisper will receive a whisper-quiet audio stream buried in white noise, leading to high transcription error rates. If your gain is too high, the audio clips, causing distortion that neural networks cannot decode.
You must account for these environmental factors during your physical build. Isolate your microphone physically from your speaker using closed-cell foam gaskets. Configure software gain filters carefully within your YAML configuration, and ensure your Wi-Fi signal strength at the installation point stays above -65 dBm to prevent packet loss during active audio streaming.
## How Do You Build, Flash, and Configure an ESP-IDF Voice Satellite Step-by-Step?
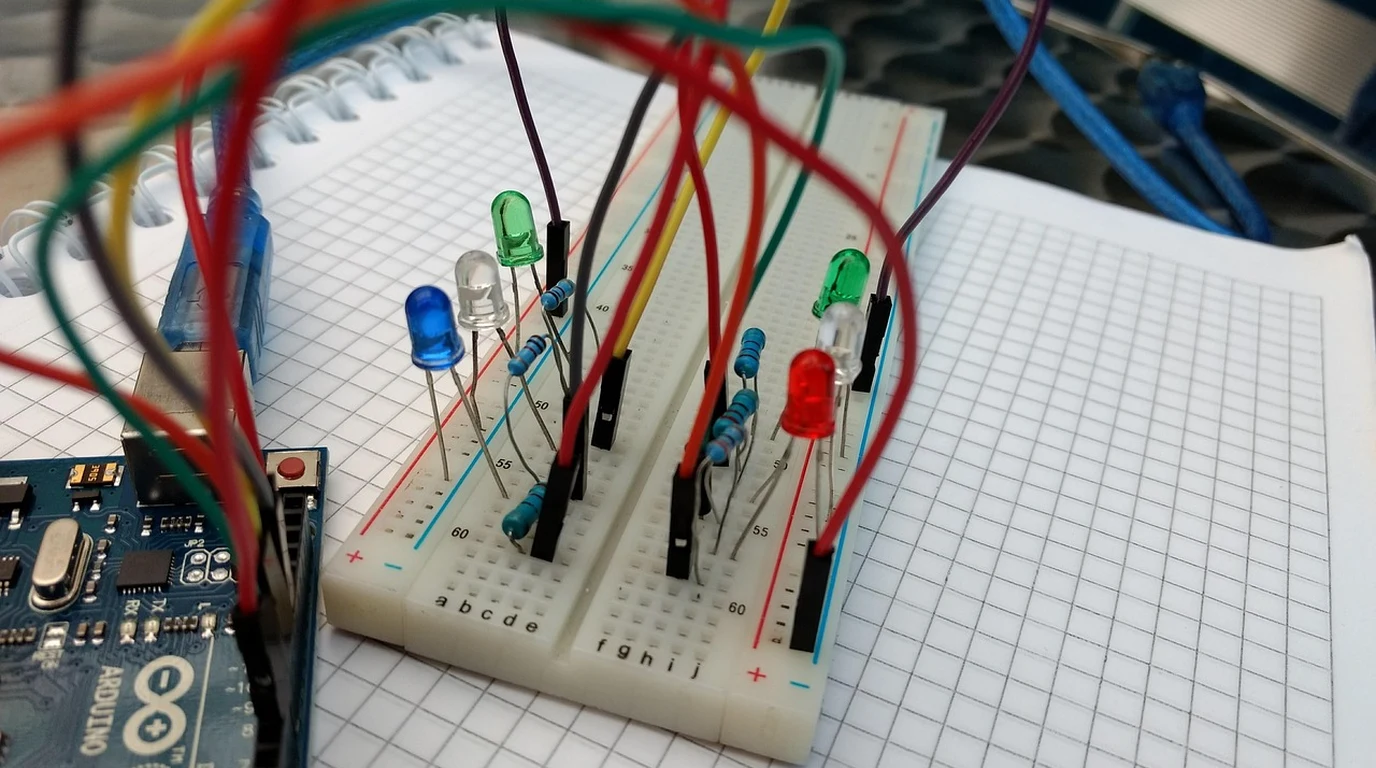
Let’s translate architecture into action. This implementation playbook guides you through building a custom ESP32-S3 voice satellite using an ESP32-S3 DevKit, an INMP441 digital microphone, and a MAX98357A I2S amplifier, managed entirely through ESPHome within Home Assistant.
### Step 1: Wire Your Hardware Components Correctly
Before touching any software, verify your physical pin connections. Using an ESP32-S3 development board, connect your peripherals using standard I2S protocol lines:
* INMP441 Microphone:
* SCK (Serial Clock) to GPIO 41
* WS (Word Select) to GPIO 42
* SD (Serial Data) to GPIO 2
* L/R to GND (Left channel)
* VDD to 3.3V, GND to GND
* MAX98357A Amplifier:
* BCLK (Bit Clock) to GPIO 5
* LRC (Left/Right Clock) to GPIO 6
* DIN (Data In) to GPIO 7
* SD (Shutdown) to 3.3V (Always enabled)
* VIN to 5V (External supply recommended for volume), GND to GND
### Step 2: Write Your Base ESPHome Configuration YAML
Create a new device in ESPHome on your Home Assistant instance. Use the following gold-standard configuration template, ensuring you replace placeholder Wi-Fi credentials and API keys with your own values:
“`yaml
esphome:
name: living-room-satellite
friendly_name: Living Room Voice Satellite
esp32:
board: esp32-s3-devkitc-1
variant: ESP32S3
framework:
type: esp-idf
wifi:
ssid: “YOUR_WIFI_SSID”
password: “YOUR_WIFI_PASSWORD”
ap:
ssid: “Living-Room-Satellite-Fallback”
password: “fallbackpassword”
logger:
level: INFO
api:
encryption:
key: “YOUR_ESPHOME_API_ENCRYPTION_KEY”
ota:
platform: esphome
micro_wake_word:
models:
– model: hey_jarvis
on_wake:
– logger.log: “Wake word detected! Opening audio stream…”
– media_player.stop:
– sound.play: “esphome/bell.wav”
microphone:
– platform: i2s_audio
id: i2s_mic
i2s_audio_id: i2s_bus
adc_type: external
bits_per_sample: 16bit
channels: mono
pin_ws: GPIO42
pin_bck: GPIO41
pin_data: GPIO2
speaker:
– platform: i2s_audio
id: i2s_speaker
i2s_audio_id: i2s_bus
dac_type: external
bits_per_sample: 16bit
channel: mono
pin_bck: GPIO5
pin_ws: GPIO6
pin_data: GPIO7
i2s_audio:
– id: i2s_bus
i2s_lrclk_pin: GPIO42
i2s_bclk_pin: GPIO41
voice_assistant:
microphone: i2s_mic
speaker: i2s_speaker
use_wake_word: true
noise_suppression_level: 2
auto_gain: 31
volume_initial: 80
“`
### Step 3: Flash and Provision Your Node
Connect your ESP32-S3 to your workstation via USB. Compile and flash the configuration using the ESPHome CLI or dashboard:
“`bash
esphome run living-room-satellite.yaml
“`
Monitor the initial serial output to verify that the I2S bus initializes correctly, the microWakeWord model loads into PSRAM without throwing memory allocation errors, and the device connects successfully to your local Wi-Fi network.
### Step 4: Install and Link Wyoming Add-Ons in Home Assistant
Navigate to your Home Assistant Supervisor panel and install the necessary backend add-ons to process the audio streams sent by your new satellite:
1. Wyoming Whisper: Install the add-on, select your desired model size (the `base` or `small` model offers an optimal balance of speed and accuracy on standard hardware), and start the service.
2. Wyoming Piper: Install the add-on, download your preferred voice profile (e.g., `en_US-lessac-medium`), and start the service.
3. Home Assistant Integration: Go to Settings > Devices & Services. Home Assistant will auto-discover your local Wyoming Whisper and Piper services via mDNS. Click Configure to integrate them into your Assist pipeline.
### Step 5: Configure the Assist Pipeline
Go to Settings > Voice Assistants > Pipelines in Home Assistant. Create a new pipeline named “Local Voice Pipeline.”
* Set your Language to English.
* Set your Speech-to-Text engine to Whisper.
* Set your Intent Recognition engine to Home Assistant.
* Set your Text-to-Speech engine to Piper.
* Assign your newly configured ESPHome satellite as the default audio input device for this pipeline.
Test your setup by standing near the satellite and speaking your wake word. Watch the Home Assistant logs to confirm that audio packets flow smoothly over the local TCP socket, text translation completes instantly, and your home responds without ever talking to the cloud.
### Frequently Asked Questions
### Can I run a Wyoming voice satellite on an older standard ESP32 instead of an ESP32-S3?
Standard ESP32 chips lack the vector processing instructions (ESP-DSP) and sufficient RAM/PSRAM required to run on-device wake-word engines like microWakeWord while simultaneously managing high-bandwidth audio streaming. While you can use an original ESP32 (such as the M5Stack Atom Echo) as a basic audio streaming gateway, local wake-word processing requires an ESP32-S3 with external PSRAM.
### How do I eliminate acoustic feedback when the speaker is in the same enclosure as the microphone?
Physical isolation is critical. Wrap your INMP441 microphone capsule in closed-cell acoustic foam to prevent internal vibrations from the speaker chassis from bleeding into the microphone diaphragm. Additionally, enable software noise suppression and adjust your gain levels in your ESPHome YAML configuration to dampen residual echo.
### What network bandwidth does a Wyoming voice satellite consume on my local Wi-Fi?
A single active voice satellite streaming 16kHz, 16-bit PCM mono audio consumes approximately 512 Kbps of local network bandwidth. This creates negligible overhead on a standard home Wi-Fi network, though ensuring a stable connection with a signal strength better than -65 dBm prevents packet jitter during active dialogue.