
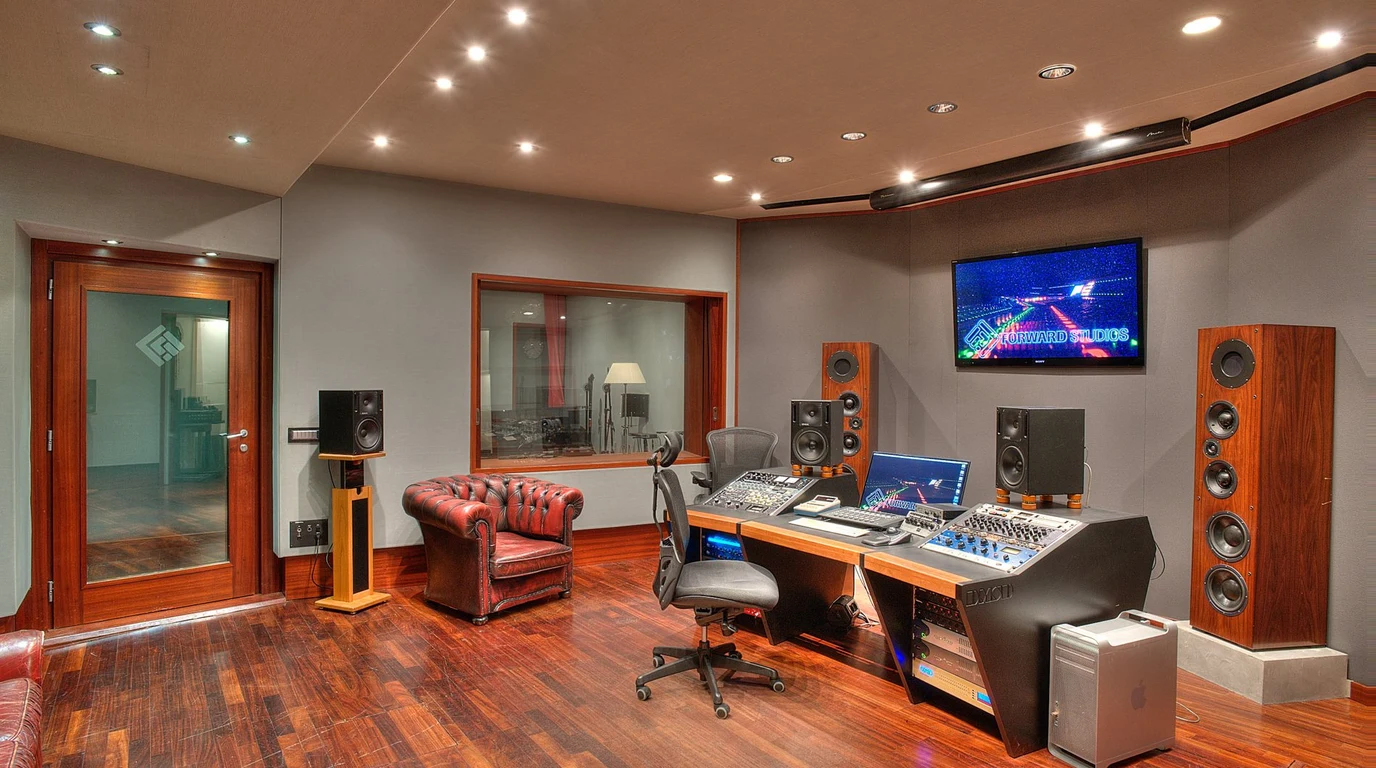
Achieving visceral, punchy, and linear low-frequency reproduction in multi-subwoofer home theaters requires millisecond-accurate time alignment using Room EQ Wizard (REW) and a miniDSP 2×4 HD. Rather than relying on simple physical tape-measure distance settings, calibrators must measure impulse response step-delays using an acoustic timing reference (chirp) routed through a high-frequency surround speaker. By calculating differential phase alignment in REW’s Alignment Tool and applying precision delay offsets (0.01ms resolution) in the miniDSP, boundary cancellations and comb filtering between multiple subwoofers are eradicated permanently across all listening seats.
The Physics of Low-Frequency Phase Cancellation & Comb Filtering
In residential home theater and high-end two-channel audio installations, room acoustic boundaries dictate bass performance far more than the raw specification sheet of your subwoofers. In a rectangular listening room, sound waves below 100 Hz possess wavelengths stretching between 11.3 feet (100 Hz) and 56.5 feet (20 Hz). As these massive acoustic pressure waves reflect off parallel drywall, concrete slabs, and ceilings, they create stationary standing waves known as room modes.
To smooth out these modal peaks and dips, modern acoustic engineering mandates deploying multiple subwoofers—typically two to four subwoofers placed symmetrically at opposing room boundaries (such as front and rear midpoints, or opposing diagonal corners). However, placing subwoofers at different physical distances from the primary listening position introduces a fatal acoustic penalty: phase misalignment.
When Subwoofer 1 (located 8 feet from the listener) and Subwoofer 2 (located 16 feet away) reproduce an 80 Hz bass transient simultaneously, the sound from Subwoofer 1 arrives approximately 7.1 milliseconds earlier than Subwoofer 2. At 80 Hz, half a wavelength corresponds to 6.25 milliseconds. The two subwoofers arrive almost exactly 180 degrees out of phase, destructively canceling each other out. The result is a catastrophic 20 dB acoustic null that no amplifier power or analog gain knob can overcome.
Hardware Measurement Chain: UMIK-1, REW & miniDSP 2×4 HD
To perform forensic acoustic time alignment, you require calibrated measurement hardware capable of capturing microsecond-level impulse response data:
| Calibration Element | Hardware / Software Tool | Calibration Function |
|---|---|---|
| Calibrated Microphone | miniDSP UMIK-1 or UMIK-2 USB Mic | Captures 10Hz–20kHz acoustic sweeps with 90-degree diffuse calibration file |
| Analysis Software | Room EQ Wizard (REW v5.40+) | Computes Fast Fourier Transform (FFT), impulse responses, and phase traces |
| Hardware DSP Engine | miniDSP 2×4 HD (or Flex Balanced) | ADSP-21489 floating-point DSP offering 0.01ms delay, parametric EQ, and gain |
| Audio Output Interface | HDMI via ASIO4ALL / Java Drivers | Pipes multi-channel LFE and surround acoustic timing reference chirps |
Step-by-Step Calibration Protocol: The 7-Phase Alignment Standard
Phase 1: Baseline Hardware Gain Matching
Before connecting measurement microphones, verify that all subwoofers are electrically gain-matched at their physical plate amplifiers. Set all subwoofer low-pass filter (crossover) knobs to maximum (or LFE bypass mode), set variable phase knobs to 0 degrees, and disable any onboard DSP “bass boost” presets. Route the single LFE subwoofer pre-out from your AV processor into Input 1 of the miniDSP 2×4 HD, and connect Output 1 through Output 4 to your respective subwoofers.
Phase 2: Configuring the Acoustic Timing Reference in REW
Measuring subwoofer impulse responses without a timing reference is impossible because low-frequency sine sweeps have slow rise times with ambiguous peak arrival points. To overcome this, REW utilizes an Acoustic Timing Reference:
- In REW Preferences > Output, select your HDMI output device. Set the measurement sweep to output on Channel 4 (LFE).
- Enable Use Acoustic Timing Reference and set the reference output to Channel 1 (Front Left) or Channel 2 (Front Right).
- When you initiate a sweep, REW first emits a sharp high-frequency chirp through the designated front speaker. The microphone clocks this high-frequency transient to establish time zero (t = 0.00ms) with microsecond precision before emitting the low-frequency sweep through the subwoofer.
Phase 3: Capturing Independent Subwoofer Sweeps
Mute all outputs in the miniDSP plugin except Output 1. Run a 10 Hz to 200 Hz sweep at 75 dB SPL. Label this measurement Sub 1 (Front Left). Next, unmute only Output 2 and repeat the measurement, labeling it Sub 2 (Rear Right). Repeat for all connected subwoofers without moving the microphone.
Phase 4: Analyzing the Impulse Response & Alignment Tool
Open REW’s Alignment Tool (located under Actions > Alignment Tool). Select Sub 1 as Measurement A and Sub 2 as Measurement B. REW calculates the vector summation of both subwoofers in real time, displaying the combined frequency response curve alongside individual phase angles.
Adjust the Delay slider on Measurement B. As you adjust the delay in 0.1ms increments, observe the combined frequency response. You will notice dramatic transformation: at 0ms delay, a deep cancellation valley may exist at 65 Hz. As you apply 4.8ms of delay to Sub 2, the cancellation completely fills in, producing a smooth, high-output constructive summation across the entire 20 Hz to 100 Hz passband.
You cannot make an acoustic wave travel faster through air (sound velocity is fixed at approximately 1,128 ft/s or 343 m/s at 20°C). Therefore, you must always add digital delay to the subwoofer that is physically closer to the listener, holding its sound in DSP memory until the sound wave from the farther subwoofer has caught up.
Phase 5: Programming Delays into miniDSP
Once REW calculates the optimal delay offset (for example, Sub 1 = 0.00ms, Sub 2 = 5.25ms, Sub 3 = 8.10ms), launch the miniDSP 2×4 HD plugin on your laptop. Enter the precise millisecond values directly into the output delay blocks for each channel. Invert channel polarity if REW indicates an inverted phase alignment yields superior modal summation.
Phase 6: Multi-Sub PEQ Flattening (Targeting Peaks, Not Dips)
With all subwoofers perfectly aligned in time, take a combined sweep with all subwoofers firing simultaneously. The combined response will show substantial efficiency gains (+3 dB to +6 dB across the passband). Open REW’s EQ window, select the miniDSP 2×4 HD equalizer profile, and generate targeted Parametric EQ (PEQ) filters to tame remaining room mode resonance peaks:
- Target Peaks Exclusively: Never apply high-Q boost filters (+6 dB) to fill deep room nulls. Boosting a room null merely forces your subwoofer amplifier into clipping and burns voice coil headroom without filling the acoustic cancellation. Use multi-sub placement and time alignment to fix nulls; use negative PEQ cuts (-4 dB to -8 dB) to shave down resonant peaks.
- Export Biquads: Export the filter coefficients as a text file and load them directly into the miniDSP Input PEQ block, treating the entire aligned multi-sub array as a single unified acoustic source.
Phase 7: Splicing the Subwoofer Array with Main Speakers
The final step is aligning the unified subwoofer array with your front left, center, and right speakers at the crossover frequency (typically 80 Hz). Run a sweep of your Center channel with the subwoofers active. In the Alignment Tool, compare the Center speaker against the Subwoofer Array. Adjust the AV processor’s Subwoofer Distance setting until the phase traces align perfectly through the 70 Hz to 90 Hz crossover transition zone.
Impulse Response & Group Delay Comparison Matrix
To evaluate the acoustic transformation before and after forensic time alignment:
| Acoustic Parameter | Uncalibrated (Default AVR Setup) | Aligned via REW + miniDSP 2×4 HD |
|---|---|---|
| Inter-Sub Phase Variance | 90° to 180° cancellation at crossover | < 15° coherent summation (20Hz–100Hz) |
| Seat-to-Seat Frequency Variance | ±14 dB swing between front/back row | ±3.5 dB uniform response across all seats |
| Group Delay at 50 Hz | 45ms – 65ms (Slow, muddy, ringing bass) | < 18ms (Tight, articulate, punchy transients) |
| Amplifier Headroom Utilization | Wasted driving destructive cancellations | +6 dB acoustic gain; 50% less amp thermal load |
Vector Summation & Phase Alignment in REW’s Alignment Tool
To understand the mathematical elegance of digital subwoofer time alignment, consider how sound waves combine in space. Two acoustic signals $s_1(t)$ and $s_2(t)$ at a given frequency $f$ combine according to their complex vector amplitudes:
$$P_{total}(f) = \sqrt{P_1^2 + P_2^2 + 2 P_1 P_2 \cos(\Delta heta)}$$
Where $\Delta heta$ is the relative phase angle difference between the two subwoofers. When the subwoofers are in perfect phase alignment ($\Delta heta = 0^\circ$), $\cos(0) = 1$, and the total acoustic pressure simplifies to $P_{total} = P_1 + P_2$. This yields an ideal +6 dB constructive acoustic summation. However, if uncalibrated physical distances produce a phase offset of $\Delta heta = 180^\circ$, $\cos(180) = -1$, and the acoustic waves completely cancel out, leaving a deep null.
REW’s Alignment Tool calculates this vector summation dynamically. By adjusting the delay in fractional 0.05ms increments, you can observe the phase trace rotating on the screen. The goal is to align the phase slopes so they run parallel to each other across the entire operational bandwidth (20 Hz to 100 Hz). Parallel phase slopes indicate matched group delay, ensuring that low-frequency drum hits and cinema explosions hit the listener with tight, instantaneous physical impact rather than muddy, delayed resonance.
Crossover Integration: Splicing Subwoofers with Main Speakers (80 Hz Crossover)
Once your multi-subwoofer array is unified into a single virtual acoustic source via miniDSP, you must execute the final critical splice: integrating the subwoofer array with your main Front Left, Center, and Front Right speakers across the AV receiver’s 80 Hz crossover point.
In standard THX bass management, an 80 Hz crossover routes a 2nd-order 12 dB/octave high-pass filter to the main speakers and a 4th-order 24 dB/octave Linkwitz-Riley low-pass filter to the subwoofer output. Because main speakers operate in sealed or ported cabinets with their own natural acoustic roll-offs, the resulting acoustic crossover slopes rarely match electrical filter curves.
To resolve this transition zone:
- Mute all speakers except the Center channel and the Subwoofer Array.
- Measure an acoustic sweep from 20 Hz to 300 Hz with the acoustic timing reference active.
- Inspect the 70 Hz to 90 Hz crossover region. If you observe a dip or notch centered near 80 Hz, your subwoofers are canceling out the woofers in your Center speaker.
- Open your AV receiver or pre-pro setup menu and adjust the Subwoofer Distance setting in 0.5-foot increments. Adjusting the distance setting changes the master digital delay of the entire subwoofer array relative to the main speakers. As you step through distance offsets, observe the 80 Hz crossover region fill in until smooth, linear acoustic summation is achieved.
Polarity Inversion Verification: Checking Phase at 0 vs 180 Degrees
Before finalizing PEQ filters, always test a complete 180-degree polarity inversion on the delayed subwoofer within the miniDSP output menu. In asymmetric rooms with complex boundary loading, inverting electrical polarity can occasionally align phase slopes through the crossover null more cleanly than delay adjustments alone. Compare the vector summation of both polarity states in REW before locking in final filter configurations.
Deepen your acoustic engineering knowledge by reviewing our foundational analysis on Subwoofer Room Modes & Group Delay: Bass Guide, and ensure pristine power delivery to high-current subwoofers with Smart Electrical Panels: Hardware Guide.